
What Ajay showed us today:
Micropatterning
- how to use a ultrasonic cleaner to remove any dirt present on the PDMS stamp (which was placed in acetone and ethanol to remove any organic compound).
- transferring fibronectin onto the PDMS stamp using a micropipette, waiting for about an hour before washing off the excess fibronectin. (Fibronectin serves as a bridge between the modified coverslips and the stem cells that we would be adding later).
- drying the stamp with nitrogen blow again and how to observe the side where fibronectin was present (foggy surface).
- stamp inked with fibronectin was then pressed against the modified coverslips with weights for about an hour.
- the coverslips with fibronectin printed on it was passivated with bovine serum albumin (BSA)
- human mesenchymal stem cells (hMSCs), that were cultured beforehand, were extracted using trypsin.
- centrifuge to seperated the trypin and hMSCs.
Dulbecco`s Modified Eagle Medium (DMEM) and dye were added to a small sample of the cells. We used this sample to calculate the number of cells present in the whole solution. The dye would bind to any living cells, so we will only see living cells under the microscope. (DMEM is a culture medium, containing nutrients required to culture cells. The composition of DMEM differs depending on what it is used for.)
- a specific volume of hMSCs in DMEM is added to the well tray with the cover slips. These coverslips, which we prepared earlier, has a certain pattern as explained in the diagram below.
- preparing culture medium. Fetal bovine serum and antibiotic solution were added to DMEM.
- removing the frozen fibroblast from a freezer at about -150⁰C (due to the extremely low temperature, the retrieval of the fibroblast had to be done speedily or else the fingers would be burnt. It sounds kinda ironic, but you really will get cold burn.)
- the fibroblast were thawed in a water bath at around 37⁰C and centrifuged to separate the freezing medium and the fibroblast. (The freezing medium was added to the cells before they were frozen in the freezer at -150⁰C. The medium would help reduce the amount of cells dying.)
- growing medium was added to the fibroblast and placed in an incubator at 37⁰C with 5.0% CO2 (human body temperature is used for optimal growth and CO2 acts as a buffer system to prevent great fluctuation of pH level)
Some really cool new experiences we had today when we were using the cell culture room, plus cleanliness is extremely important in there:
- we wore a different kind of lab coat (the material is similar to a raincoat)
- had to wear shoe covers
- had to be "blown clean" to any dirt before entering (felt like a ticklish typhoon for 10s)
- when working in the fume hood, everything has to be sterilised with 70% ethanol to kill any form of bacteria (the room was pretty stuffy and we were literally breathing in ethanol fumes)
- we saw some new equipment
- 0.2µm membrane filter to prevent bacteria, which are larger than 0.2µm, from entering
- pipette guns (function similar to the red ball pump we use in our school labs) and stripettes SO COOL!!! :D
- a machine that helps to dissolve solids in solution to give a homogenous mixture (it vibrated so fast a vortex was produced)
- different incubators for different purposes
- the freezer where snow-like flakes ('sua ku' singaporeans who has never seen snow so we don't know) were formed on the gloves worn

This is the PDMS stamp. We had to be really careful not to touch the surface of it.

The scale isn't the same but the stamp is similar to to top right one. This picture is taken from here.

This is the diagrammatic explanation of micropatterning. The surface of the PDMS stamp isn't smooth actually. Like a stamp, it has a certain pattern. In this case, it is stripes. Alternate stripes would jut out. Thus, when the stamp inked with fibronectin is stamped on the cover slips, strips of fibronectin would be found. BSA would bind with the functional groups on the cover slips between the spacings without fibronectin.

This picture is taken from here. It is not exactly the same as what we did but the pictures can help. We stamped it on a glass cover slip, not silicon wafer. We used BSA instead of colloidal suspension and we didn't dip-coat it.

This is the ultrasonic cleaner, which uses sonic waves to cause vibrations and hence, removing any dirt. ZZZZZZZ!

This is the membrane filter used to filter out any microorganisms.

Pipette gun and a stripette. It is so much more convenient to use the gun, as compared to a pipette filler.


This is the ultrafreezer, which is maintained at -150⁰C.
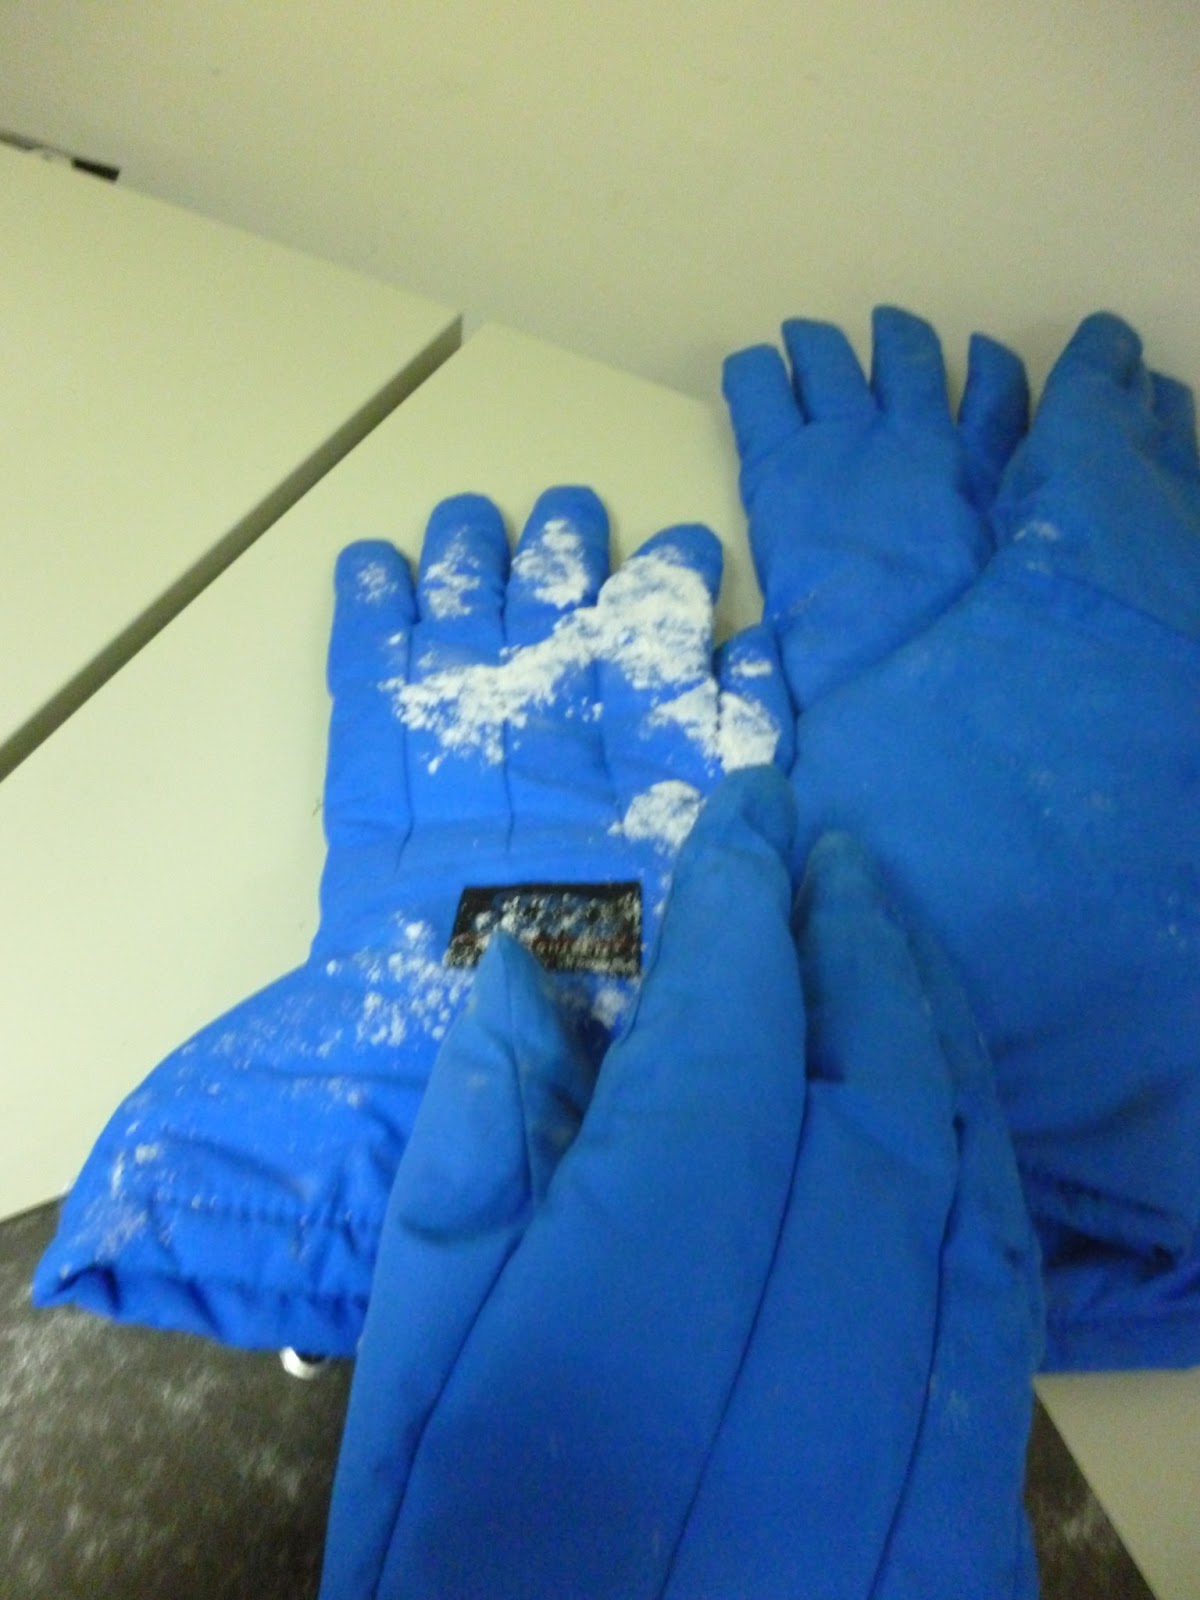
ITS SNOWING!!


This grid is used for counting cells under the microscope. This grid is actually very small and is printed on the counting chamber (the above picture).
Here is a video on a demo for counting cells. Here is also a link to help you understand.

Flask used to culture cells in.

Centifuge. It spins really fast, so the denser particles, like cells, would settle at the bottom.

TA-DA! After centrifuge, the cells would settle at the bottom. See the faint white ball at the bottom? That small ball is made up of millions and millions of cells.

This is the microscope we used. It is pretty much the same as those microscopes we have in our schools, except it is better. DUH. Also the lens are actually beneath the stage, not above. Light is shone through from above instead. Different yet the same.


This is the fume hood inside the cell culture lab. Everything that is brought into the hood has to be sprayed with ethanol to kill off bacteria, including your gloved hands.

This is the incubator. And course, everything that is put in has to undergo "ethanol treatment" as well.

Sterilisation in progress. Do not disturb. UV light is used to sterilise it. No worries, the sash (or the window pane of the fume hood) would protect us from the harmful UV rays. C:

The cell culture lab we worked in. Really stuffy.

The "ticklish typhoon simulator"
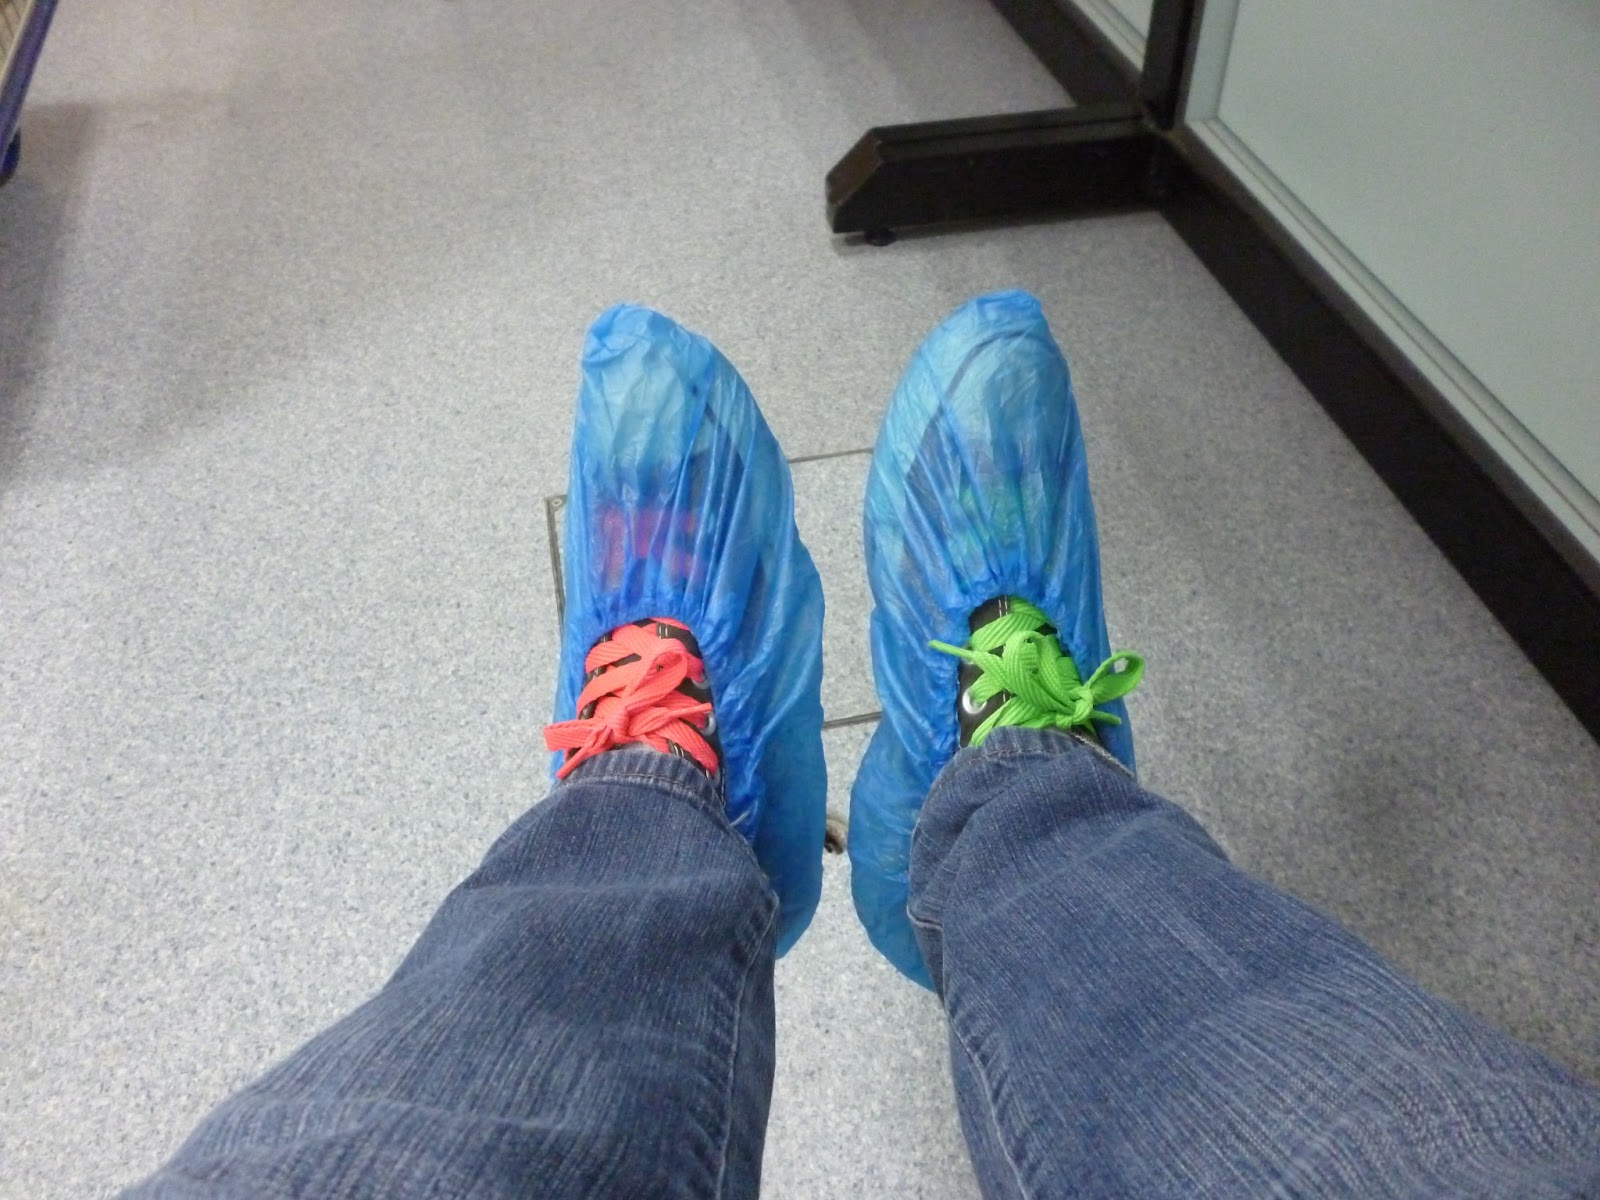
Shoe covers! HEHE
No comments:
Post a Comment